Your Garage Is Either Your Best Tool or Your Biggest Problem
Talk to any builder who's been in the game long enough and eventually the conversation shifts away from the car. Not to the parts, not to the tuner, not to the dyno sheet — to the garage. The workspace. The place where all those YouTube tutorials and forum posts become reality at 11pm on a Saturday when you've got grease up to your elbows and a stripped bolt that won't budge.
Most build guides completely skip this part. They'll walk you through suspension geometry, turbo sizing, even wiring diagrams — but nobody wants to write the article that says "before you buy a single part, go look at your garage and be honest with yourself." That's the article we're writing today.
The Garage Lie Nobody Talks About
Here's what most people picture when they imagine building a car: clean epoxy floors, a lift, pegboard walls lined with Snap-on tools, a mini fridge, maybe a neon sign. What most people actually have is a two-car garage stuffed with one car, a lawnmower, three bikes their kids haven't touched since 2019, and lighting that would embarrass a gas station bathroom.
That gap between the dream and reality isn't just an aesthetic problem. It's a functional one. Bad lighting causes mistakes. Cramped space means you can't get the right angle on a fastener, which means you strip it, which means a 20-minute job becomes a three-day ordeal. Inadequate storage means tools disappear into piles, and you spend half your build time looking for a 10mm socket that's been under the car the whole time.
The workspace shapes the quality of the work. Full stop.
Lighting First, Always
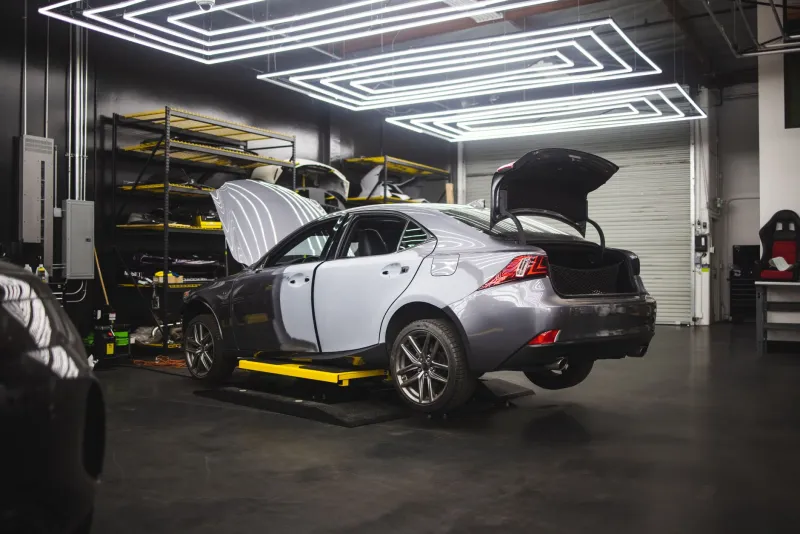
If there's one upgrade that pays back more than anything else in a build space, it's lighting. This isn't glamorous advice. Nobody posts their LED shop lights on Instagram. But the number of mistakes that happen in dim garages — misread torque specs, missed cracks in components, wrong wire connections — is staggering.
A basic four-bay LED shop light setup from any big-box home improvement store runs $150 to $300 total and transforms the space completely. Add a couple of portable LED work lights that you can position under the car or inside the engine bay, and you've eliminated one of the most common sources of build errors without spending real money.
If you're working nights — and most of us are, because day jobs are a thing — this matters even more. Your eyes are already tired. Don't make them fight bad lighting too.
The Lift Question
A two-post lift is the single biggest upgrade you can make to a home garage setup. It's also the one that stops most people cold when they see the price. A quality two-post lift from a reputable brand — BendPak, Triumph, Dannmar — runs anywhere from $2,500 to $5,000 installed, and that's before you factor in whether your garage floor can handle the load.
Here's the honest math though: if you're doing any serious suspension work, brake jobs, exhaust fabrication, or underbody modifications, the time you save working at standing height versus crawling on a creeper adds up fast. Not to mention the physical cost of doing extended work on your back on a concrete floor. Plenty of builders have paid for a lift simply in avoided chiropractor visits.
If a full lift is genuinely out of reach right now, a good set of quality jack stands and a floor jack that actually lifts your specific vehicle properly is the minimum. Don't cheap out on either. Harbor Freight jacks have their place, but if you're under a car regularly, invest in something you trust with your life — because you are.
Tool Infrastructure: What You Actually Need vs. What You Think You Need
Every new builder thinks they need every tool before they start. Every experienced builder knows you buy tools as the job demands them. The trick is knowing which core tools are worth owning outright versus renting or borrowing.
The non-negotiables: a complete socket set in both metric and standard, combination wrenches, a quality torque wrench (not a click-type from a dollar bin), a set of pliers and wire strippers if you're doing any electrical work, and a decent impact driver. Add a quality code reader — something like a Autel or BlueDriver — and you've got the foundation.
Where builders waste money is on specialty tools they buy once for a specific job and never use again. Most auto parts stores offer loaner tool programs. O'Reilly, AutoZone, and Advance Auto all have them. A steering wheel puller you'll use once? Borrow it. A ball joint press you'll use on every suspension job you ever do? Buy it.
Tool storage is underrated. A rolling cabinet keeps everything organized and mobile. You don't need a Snap-on box — Craftsman, Husky, and Milwaukee all make solid options at a fraction of the price. What you do need is a system, because a disorganized tool situation is a time sink that compounds with every build hour you log.
The Real Cost of Getting It Wrong
Here's where the math gets uncomfortable. Skimping on workspace infrastructure feels like saving money right up until it doesn't.
Stripped bolts from working in awkward positions. Scratched paint from cramped quarters. Electrical gremlins from poor lighting during wiring jobs. Misaligned components from not having the space to step back and actually look at what you're doing. These aren't hypothetical — they're the actual stories you'll hear from any builder who tried to do serious work in a space that wasn't ready for it.
The rework cost — in parts, in time, sometimes in professional shop fees to fix what went wrong — almost always exceeds what it would have cost to set the workspace up properly from the start. That's the infrastructure tax that nobody budgets for but almost everyone eventually pays.
Building the Space in Phases
You don't have to do everything at once. The smarter move is to treat the garage like a build itself — incremental upgrades that each improve your capability.
Phase one: lighting and organization. Cheap, fast, immediate impact. Phase two: a proper floor jack and stands, or a lift if the budget allows. Phase three: a rolling tool cabinet and the core tool set. Phase four: workbench with a vise, because at some point you'll need to press, cut, or grind something and you'll need a stable surface to do it on.
Beyond that, it's personal. Air compressor and impact wrench setup is a game changer for anyone doing frequent wheel and tire work. A welder opens up fabrication possibilities that bolt-on builds can't touch. A parts washer makes cleaning components faster and less miserable.
But start with the basics. Get the light right. Get the lift situation sorted. Get the tools organized. The rest follows.
The Workspace Is Part of the Build
When you're at a show and someone asks about your build, they're asking about the car. But behind every clean build is a space where real work happened — or didn't. The builders who consistently put out quality work almost always have workspaces that reflect that same level of intention.
You don't need a professional shop. You need a functional one. There's a difference, and the gap between them is a lot smaller than most people think. Get the infrastructure right, and everything else gets easier. Skip it, and you'll be fighting your own workspace on top of fighting the build itself.
Flash the rack properly. That starts before the first bolt gets turned.