Geometry First: Why Your Suspension Swap Lives or Dies Before You Ever Turn a Wrench
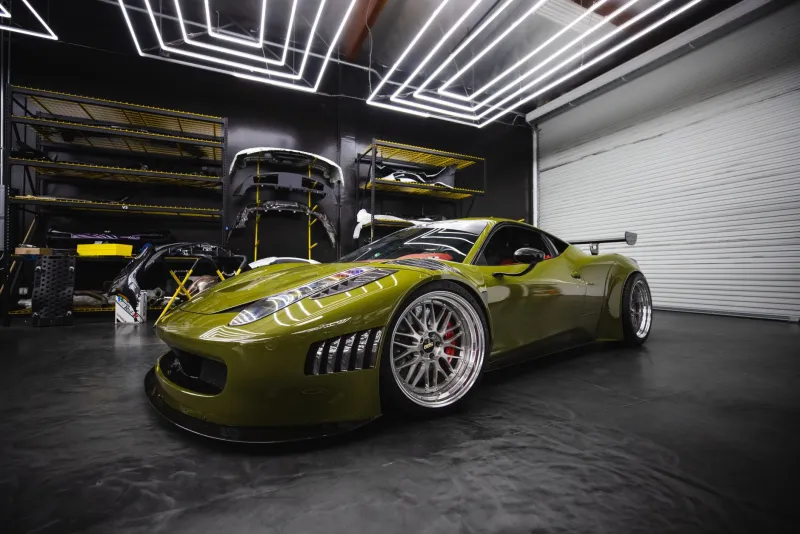
Let's be honest. When most builders start thinking about suspension, they're thinking about stance. They're thinking about the drop, the wheel fitment, the way the car squats over the rear arches like it means business. And yeah, that stuff matters — this is car culture, aesthetics are real. But there's a conversation that doesn't happen nearly enough in comment sections and Discord servers, and it's the one that separates builds that actually work from builds that look great in photos and shake themselves apart by the following spring.
That conversation is geometry. Specifically: what happens to your camber, your toe, and your scrub radius the moment you start changing ride height, control arm angles, and spring rates. Get it right, and your car handles better than stock, wears tires evenly, and rewards you every single time you put it through a corner. Get it wrong, and you've just bought yourself a very expensive lesson that your alignment shop is going to charge you $150 to partially explain.
The Myth of the Plug-and-Play Coilover
Here's where a lot of people get burned. They see a reputable brand — doesn't matter which one, you know the names — and they assume that because the kit is designed for their platform, it's going to bolt on and behave. And to be fair, most quality coilovers will bolt on. That part usually goes fine.
The problem is what happens after. When you lower a car, you're not just changing the distance between the wheel and the fender. You're changing the angle of every suspension link in the system. Control arms that were designed to operate at a specific arc are now working at the wrong point in their travel. That changes your camber curve. It changes how much toe you gain or lose under compression. In some cases, it changes your roll center — the imaginary point around which your car rotates in a corner — and that has a direct effect on handling balance and body roll.
None of that is the coilover brand's fault. It's physics. And it's exactly why your buddy's setup on his identical-year car might not save you, because his driving style, his wheel offset, and how far he actually dropped the car all interact with that geometry in ways that are specific to his build.
Camber: The One Everyone Knows, Mostly Wrong
Negative camber — the top of the tire tilted inward — is probably the most talked-about geometry setting in enthusiast culture, and also the most misunderstood. A little negative camber at the front of a performance-oriented build makes sense. It helps keep the contact patch flat when the chassis rolls in a corner, which improves grip. That's real, and it's why you'll see alignment specs on track-focused cars running anywhere from -1.5 to -3 degrees up front.
What doesn't make sense is slamming your daily driver to the ground, ending up with -4 or -5 degrees of static camber because your geometry is completely out of whack, and then calling it a feature. At those numbers, you're riding on the inner edge of your tire. You're generating heat unevenly. You're destroying tread in a way that isn't recoverable at the alignment rack because the underlying geometry is the problem, not the alignment settings themselves.
If your build is going low — and there's nothing wrong with going low — you need to think about camber correction. Adjustable control arms, camber plates, or eccentric bolts depending on your platform. These aren't optional accessories. They're the part of the build that makes the drop actually work.
Toe: The Setting That's Quietly Wrecking Your Tires
Toe is less glamorous than camber but arguably more destructive when it's off. Toe refers to whether your tires point slightly inward (toe-in) or outward (toe-out) when viewed from above. A small amount of rear toe-in is generally good for stability. Too much toe in any direction — or toe that changes dramatically under suspension travel because your geometry is compromised — and you've got a tire that's constantly fighting itself down the road.
This is especially relevant on cars with multi-link rear suspensions, which is a lot of modern performance platforms. When you lower those cars without addressing the rear geometry, toe can shift under load in unpredictable ways. The car feels nervous at highway speeds. It wanders. You blame the wheels, or the tires, or the road surface, when the real answer is sitting in your rear suspension geometry.
A proper alignment after any suspension swap is non-negotiable — but understand that alignment is adjustment within range, not a fix for geometry that's fundamentally broken by the modification you just made.
Ride Height and the Roll Center Problem
Here's the part that even experienced builders sometimes skip over: roll center migration. When you drop a car significantly, the roll center — which is calculated based on the angles and pickup points of your suspension links — often drops with it. Sometimes it drops below ground level, which creates a phenomenon called roll center inversion that makes the car feel unpredictable and nervous in a way that's really hard to diagnose if you don't know what you're looking for.
Solving this usually means roll center correction spacers or revised lower ball joint positions, depending on the platform. It's platform-specific, it's a rabbit hole, and it's exactly the kind of detail that separates a build that handles like it was engineered from one that looks great in the parking lot and terrifies you on the on-ramp.
So What Does a Good Suspension Build Actually Look Like?
It starts with research that's specific to your platform. Not your friend's platform. Not a car that's vaguely similar. Your car. Forums, build threads, and platform-specific communities are genuinely valuable here because people have already made the expensive mistakes and documented them.
It involves talking to an alignment shop before you buy parts, not after. A shop that does performance alignments — not just the chain shop that does oil changes — can tell you what's adjustable on your car, what your factory geometry looks like, and what correction parts you're going to need to hit real targets.
And it means budgeting for the full system. Coilovers are a starting point, not a finish line. Factor in end links, camber correction, alignment, and potentially control arm upgrades before you commit to a drop number. The build that works is the one where every piece of the geometry puzzle is accounted for.
Your rack deserves more than a set of springs and a prayer. Do the geometry work first, and the rest of the build gets a whole lot more rewarding.